The Indian government does not allow dual citizenship, but permits foreign nationals of Indian origin to register as ‘Overseas Citizens of India’ (OCI). It is commonly referred to as the OCI card – think of it as a lifetime visa that grants you the right to live and work in India (or visit whenever you want, for however long you choose). OCI card holders cannot vote, run for office or purchase agricultural land, but for most, the appeal lies in the lifelong freedom to travel, live or work in India.
Who is eligible for an OCI card?
To qualify for the OCI card, you must meet one of the following criteria:
- You were an Indian citizen (between now and January 26, 1950).
- You belonged a territory that became part of India after August 15, 1947.
- You were eligible to become an Indian citizen on January 26, 1950.
- You are the child, grandchild or great grandchild of someone who meets one of the above criteria.
- One of your parents is an Indian citizen
- Your spouse is an Indian citizen or OCI cardholder (must be married for at least two years at the time you apply for an OCI card)
If you, one of your parents or grandparents have ever been a citizen of Bangladesh or Pakistan, you are not eligible for the OCI card. Foreign-born adopted, surrogate or step children are usually not eligible for the OCI card – you can find more information here.
Applying for the OCI card in the U.S.
If you are applying for the OCI card on the basis of your own Indian citizenship (because you recently became a citizen of another country), applying for the OCI card is a two step process.
Step 1: Renounce your Indian citizenship formally. Proof of renunciation is required to move on to Step 2. Even if you decide not to apply for the OCI card, you should do this if you ever want to visit India as a tourist. You will have difficulty obtaining a tourist visa if you don’t renounce your citizenship.
Step 2: Apply for your OCI card. If you are applying based on a familial relationship, ignore Step 1 and start here.
Renouncing your Indian citizenship
I recently became a U.S. citizen and realized I would have to formally renounce my Indian citizenship before I could apply for the OCI card. In the U.S., the OCI card application process (including renunciation) has been outsourced to Cox & Kings Global Service (CKGS). There are 6 CKGS application centers across the U.S. and which state you live in determines where you submit your application (in person or via mail). I went through the process in New York and will share helpful tips for folks applying here. Let’s get started!
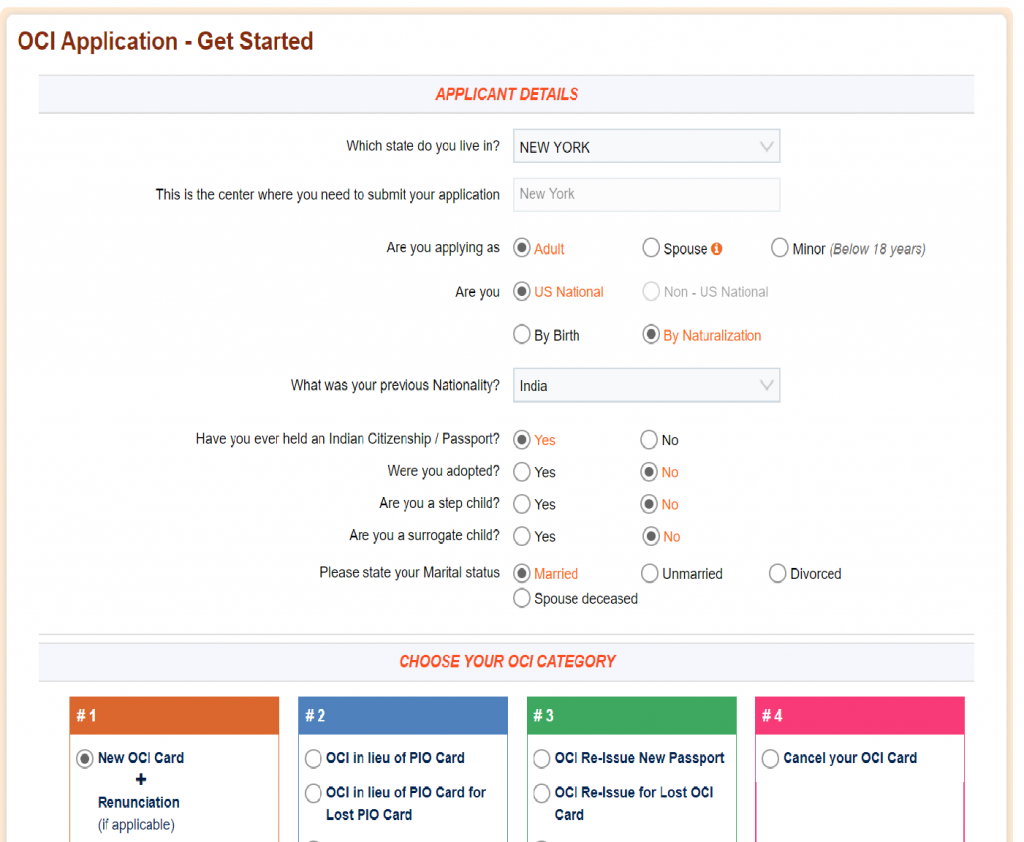
- Go to the OCI page on the CKGS website. You will see the header “OCI Application – Get Started”. Follow the prompts on the screen – fill in your details and choose your OCI category, “New OCI Card + Renunciation.” Even if you do not need to renounce your citizenship, this is the category you select when applying for the OCI card the first time. Here’s what my screen looked like.
- On the next screen, you will be asked whether you have renounced your Indian citizenship and have your Indian passport. Answer the questions and proceed to the next screen.
- The site will guide you through the next steps and help you fill out the form. You will be able to download a document checklist that clearly states which documents are required (and whether originals / copies are needed). A web reference number will be generated for your application. Write this number down (it is emailed to you as well, but in case you don’t receive it).
- Once you have completed the forms, you will be able to print them from the “My Account” page. You’ll also need to print a copy of the document checklist. Sign the forms where indicated.
- The site will prompt you to select a mode of submission – Shipping or Walk-In. Select the mode of your choice. If you choose to mail in the paperwork, the site will walk you through the steps on how to do so.
- If you select “walk-in”, you will schedule your appointment online and have the option to pay your fees with a credit card. Print out the payment receipt. Here is a breakdown of the fees I paid.

| Renunciation Fee | $175 |
| ICWF Fee | $3 |
| CKGS Service Fee | $17 |
| CKGS to You (shipping one way) | $15 |
| Convenience Fee | $7.35 |
| TOTAL COST | $217.35 |
Go to your appointment and drop off your paperwork. Your renunciation certificate and canceled Indian passport will be returned to you via mail. You cannot pick it up in person.
I was able to schedule an in-person appointment very quickly in New York – 2 days after I completed the forms online. Once I dropped off my paperwork in person, I received my renunciation certificate in the mail 5 business days later. Once you have this certificate, you can proceed to Step 2 and apply for your OCI card.
Apply for your OCI card online
There are two major parts to completing the OCI application online.
1.) First, complete the OCI application forms on the CKGS website. Follow steps 1-6 from the section above. For those that have already renounced their Indian citizenship or are applying through a familial relationship, check the appropriate boxes and follow the prompts on the screen. The site will guide you through the forms, payment and appointment scheduling as described above. Here is a breakdown of the fees I paid.
| New OCI Card Fee | $275 |
| ICWF Fee | $3 |
| CKGS Service Fee | $17 |
| CKGS to You (shipping one way) | $30 |
| Convenience Fee | $11.38 |
| TOTAL COST | $336.38 |
Before you attend the appointment, you need to complete another OCI form on the Government of India site or your application will be considered incomplete.
2.) Fill out additional forms on the Government of India site. Do not go to the Government of India site first! The CKGS site will prompt you to go here when you have completed all the forms on the CKGS website. Here, you will click, “OCI Registration” and then “New OCI Registration” on the next page. Now, follow the prompts and complete the forms. You will get a NEW web reference number which you will need in a moment. Go back to the CKGS site. On this page, click “Link Government Web Reference No. with CKGS Web Reference No.” You will need your passport number for this.
Before you get started, you will need a digital photo of yourself and a signature you can upload. I simply signed a piece of paper and took a photo of it and uploaded that image when prompted to do so. You will also need a physical passport photo to submit with your forms (the ones you are mailing in or submitting in person at your appointment). The physical photo and uploaded photo need to be identical – I missed this instruction and my photos were different. Luckily, they accepted it anyway, but to be safe, I recommend you follow their rules.
Get ready for your appointment
You are now ready for your appointment. If you haven’t already printed your forms, go to “My Account” on the CKGS website to do so. Make sure you also print the form you completed on the Government of India site. Go to this page and on the bottom left of the page, you will see an option to “Re-print submitted applications”.
I scheduled an appointment for 10 days later, only because I was out of town. I had the option to go the very next day if I wanted to. I attended my appointment on July 8, 2019 and dropped off my paperwork. I was seen within 5 minutes of my scheduled time and the entire drop-off took 10 minutes. I was in and out within 15 minutes. I received my OCI card in the mail on August 5th, which felt incredibly fast.
You will receive automated emails throughout the process, letting you know how your application is progressing. You will be informed when it’s approved and being shipped to you (with a tracking number). Here is an example of an automated e-mail. 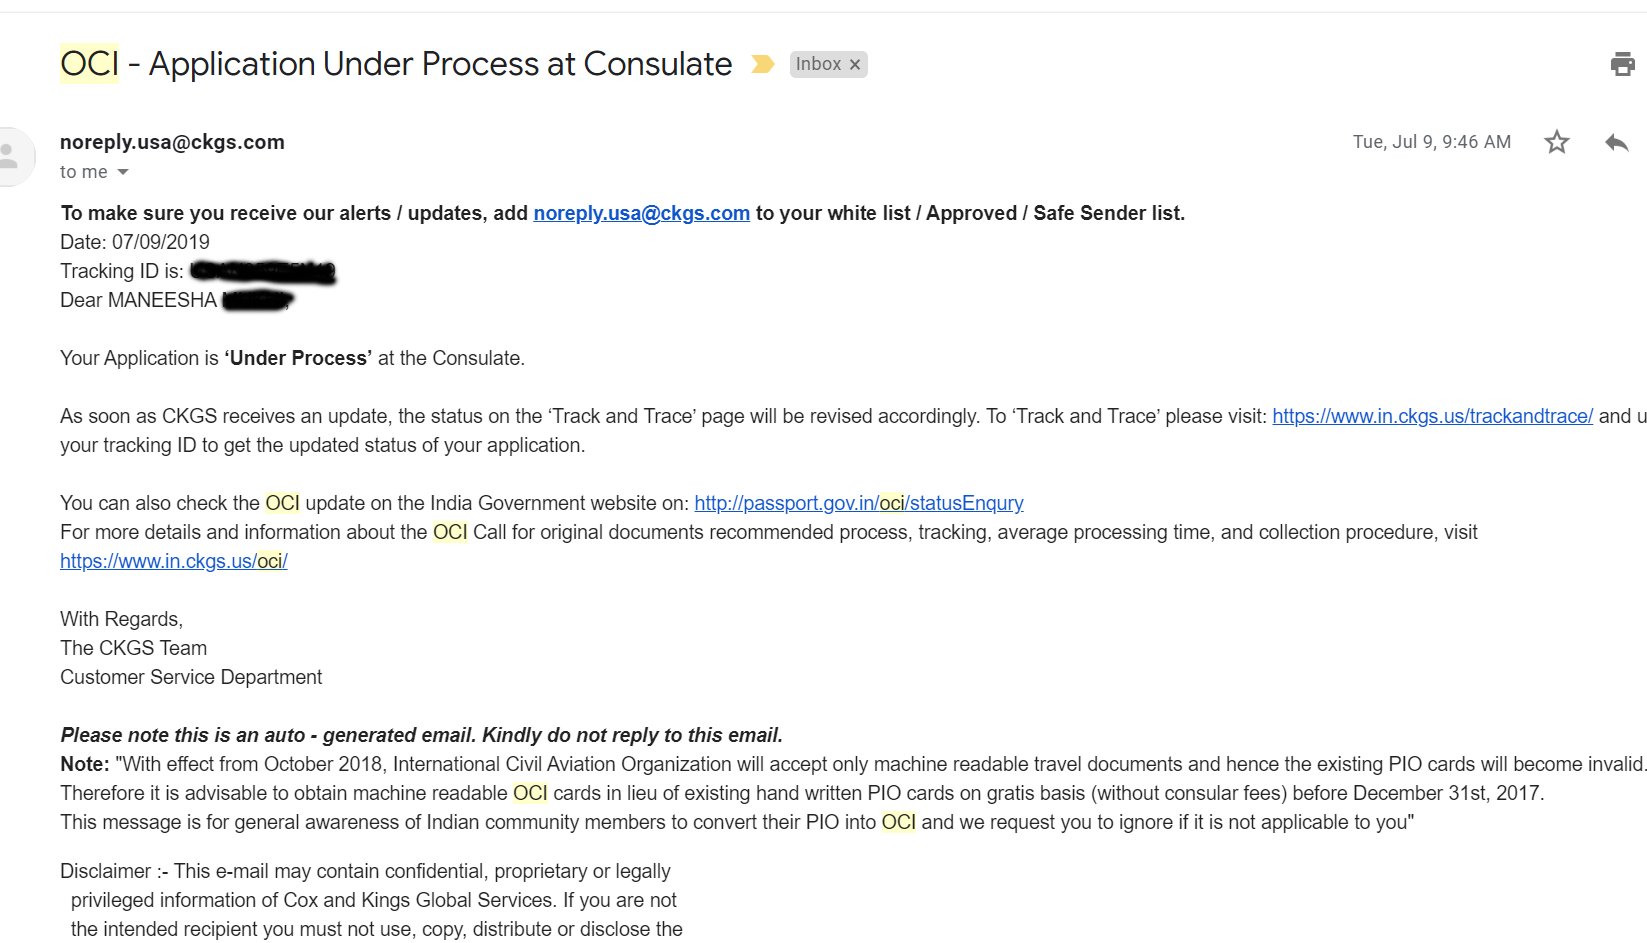
Overall, I was pleasantly surprised and had a very efficient experience in New York. I hope you do as well!
*The content and materials available via Ask Ellis are for informational purposes only and do not constitute legal advice
Leave a Reply